How to Sew On Clothing Labels and Win the Lost Property Battle

Tired of replacing yet another lost school blazer or PE kit? Welcome to your secret weapon! Learning how to properly sew on clothing labels is the simple, super-durable solution to ending the lost property chaos. This guide will show you how a needle and thread can save you money, time, and the headache of the school cloakroom for good.
Your Guide to Winning the Lost Property Battle
If the sight of the lost property box sends a shiver down your spine, you're not alone. Every parent has felt that sinking feeling when an expensive piece of school uniform vanishes into thin air. It's a mystery worthy of Sherlock Holmes.
While stick-on and iron-on labels have their moments, the traditional sew-on clothing label remains the undisputed champion for durability. It’s the heavyweight hero of the labelling world!
This guide is for busy parents who need a permanent fix that can survive playground adventures, muddy puddles, and countless washing machine tumbles. A properly attached sew-on label won't peel, fade, or bail, ensuring your child's gear always finds its way back home.
Why a Simple Stitch Makes All the Difference
The secret superpower of a sew-on label is its incredible staying power. Unlike its sticky cousins, it becomes part of the garment, offering a level of security that other labels can only dream of. This makes them a parent's best friend for:
-
The Expensive Stuff: Think blazers, winter coats, and sports kits that cost a small fortune to replace.
-
The Constantly Washed Crew: From polo shirts to school jumpers, these labels stay put through hot washes and tumble drying marathons.
-
Those Tricky Fabrics: They're a dream for knitwear, wool, and other textures where iron-on labels often give up the ghost.
The financial hit from lost school items is staggering. It’s estimated that lost uniforms and clothing make up 45% of the £370 million UK families spend annually on replacements. That's a lot of pocket money that could be spent on something more fun!
The good news? Teachers and parent committees report that classrooms using named sew-on labels see up to 80% fewer lost items. A few minutes spent sewing is a massive win for your sanity and your wallet.
This guide will walk you through everything, even if your sewing experience is zero. From choosing your tools to mastering a couple of simple stitches, you'll feel like a pro tackling that pile of new uniforms.
And for other school essentials, why not complete your labelling mission by checking out our guide on creating custom bag tags?
Gathering Your Sewing Kit for Success
Before you dive into that mountain of school uniform, taking a few minutes to get organised is a total game-changer. It turns a potential chore into a quick and satisfying win! Having the right tools on hand makes attaching sew on clothing labels a breeze, whether you're a sewing veteran or picking up a needle for the first time. Think of it as your mission control for a smooth, frustration-free operation.
Parent Pro Tip: A crucial first step is to pre-wash and dry the garments just as you normally would. Brand-new clothes, especially cotton ones, love to shrink a tiny bit in their first wash. If you attach a label before washing, the fabric can pucker around it later, looking a bit messy. Get that shrinking out of the way first for a perfect finish!
Your Hand-Sewing Essentials
For those who fancy the traditional needle-and-thread approach, you only need a few simple bits. This method gives you fantastic control and is perfect for tackling a few items while you're enjoying a well-deserved cuppa and watching TV.
-
Needles: Don't just grab any old needle. A finer needle (like a size 9 sharps) is brilliant for delicate school blouses, while a sturdier, all-purpose needle (size 7 or 8) is your hero for thick blazer fabric or denim.
-
Thread: Go for a 100% polyester thread in a colour that matches either the label or the garment. Polyester is the superhero of threads—it's incredibly strong, won't shrink, and holds up in the wash like a champion.
-
A Thimble: Seriously, this little gadget is a thumb-saver. It protects your finger as you push the needle through tougher fabrics, preventing soreness and making the whole job much quicker.
-
Small Scissors: A sharp pair of small scissors or thread snips is a must-have for clean, tidy cuts without accidentally snipping the garment!
Top Tip for Parents: Create a 'Last-Minute Labelling' kit. Keep a small tin with a couple of needles, a neutral-coloured thread, and a few spare labels. It's an absolute lifesaver for that new PE top you bought the night before it was needed. We've all been there!
Setting Up Your Sewing Machine
If you're faced with a whole new wardrobe's worth of clothes to label, your sewing machine is your best friend. The setup is quick, and it turns the task into a super-efficient production line.
First, pop in the right needle. A universal needle (size 80/12) is perfect for most uniform fabrics like cotton and poly-cotton blends. For very fine or delicate materials, switching to a microtex needle will help prevent any snags.
Next, check your machine foot. A standard presser foot will work just fine, but a clear or transparent foot is a game-changer. It lets you see exactly where you're stitching, ensuring your lines are perfectly straight and snug against the label's edge for a professional finish.
Finally, set yourself up in a comfy, well-lit spot. Good lighting makes a huge difference, saving you from eye strain and helping you create neat, even stitches. With your tools ready, you're all set to get those labels on with confidence.
And remember, for other items like lunchboxes and juice bottles, using a personalised label, such as our multi-purpose labels, is an excellent addition to your labelling go-to kit!
Hand-Sewing Labels for a Secure Finish
No sewing machine? No problem! Hand-sewing labels is a fantastic skill that gives you total control and a wonderfully secure finish. It’s the perfect little job to do while catching up on your favourite show, and you can get a really neat result with just a few basic tools. This walkthrough is for everyone, so let’s get that needle threaded.
First, here’s a parent hack to stop those annoying knots from pulling straight through the fabric. After you've threaded your needle, take both ends of the thread and tie them together with a double knot. This creates a small loop, which is a much more secure anchor than a single-thread knot—especially on those loosely woven school jumpers. This simple trick makes sure your hard work doesn't unravel after a few tumbles in the washing machine.
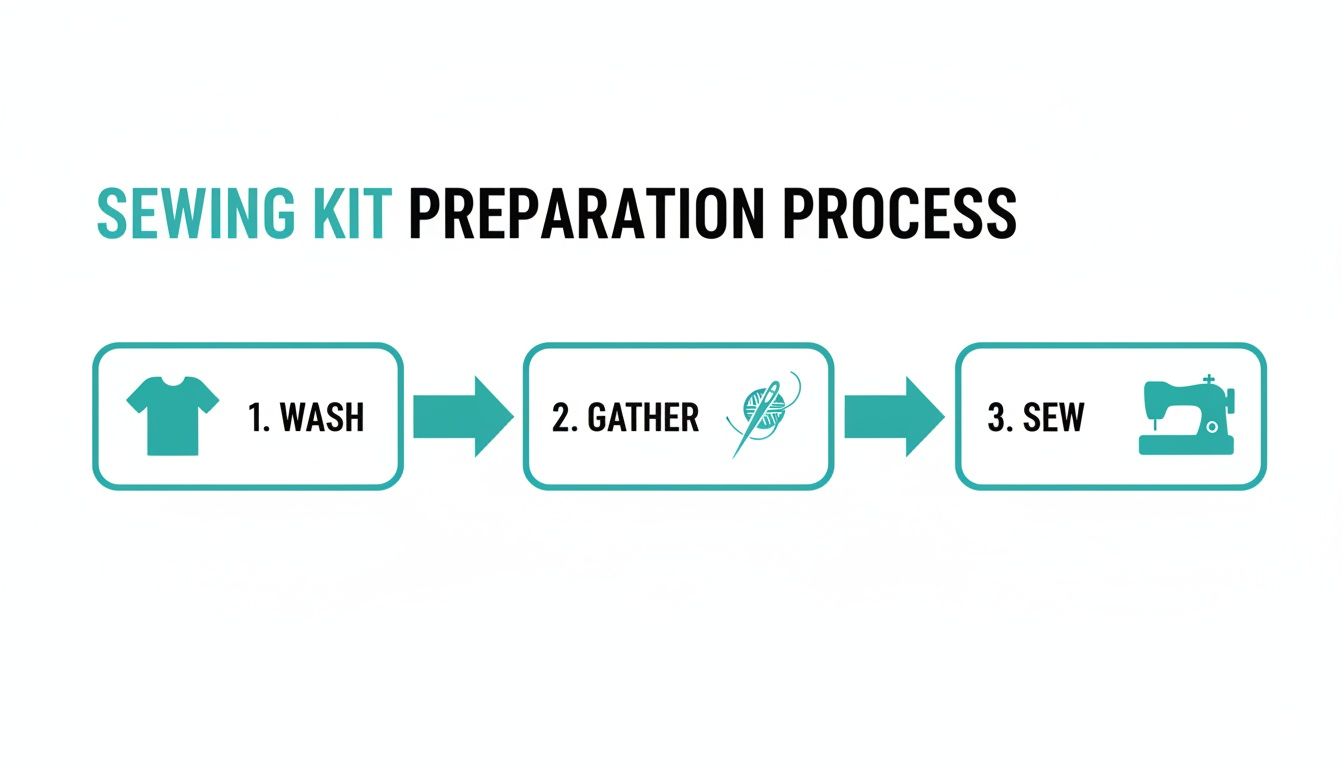
This little visual sums it up nicely. Starting with a pre-washed garment is key to preventing puckering later on. By getting all your tools ready before you begin, you can turn labelling into a quick, stress-free task.
Pin and Prep for Perfect Placement
Before you make a single stitch, pin the label exactly where you want it. Use two small pins, one at each end, to stop it from wiggling around as you sew. This five-second step is the secret to a neat, straight label. Trust us, it’s much easier to move a pin than it is to unpick wonky stitches!
With your label secured, you're ready to pick your stitch. There are two brilliant, easy options for attaching sew on clothing labels by hand.
-
The Running Stitch: This is the simplest and quickest stitch of all. Just weave the needle in and out of the fabric along the label's edge. It's fantastic when you're short on time.
-
The Whipstitch: For an ultra-secure and nearly invisible finish, the whipstitch is your go-to. You bring the needle up from behind the garment and loop it over the edge of the label, creating small, tidy diagonal stitches.
Parent-to-Parent Advice: If you're new to sewing, start with the running stitch. It’s very forgiving and fast. As you get more confident, you can try the whipstitch on items like blazers for that extra-durable, tidy finish that looks super smart.
Mastering the Stitches
For a running stitch, start from the underside of the garment so your knot is hidden. Push the needle up through the fabric and a corner of the label. Then, simply "run" the needle and thread in and out along the edge. Aim for small, even stitches—about 2-3mm long is perfect.
The whipstitch offers superior durability, which is amazing for school uniforms. Again, start from the back. Bring the needle up just outside the label's edge, then take the needle down through the label close to its edge. This creates a small, secure loop over the border.
A hand-sewn label isn't just practical; it's a key player in the school ecosystem. A huge 92% of primary schools mandate named uniforms to tackle the lost property mountain. When you consider that 65% of UK parents lose at least three uniform items per term, a durable sew-on label can be a real hero.
To finish off, push the needle to the back of the garment, make one tiny last stitch, and pass the needle through the loop of thread twice before pulling it tight to form a secure knot. Snip the excess thread, and you're done! Your label is now ready to face the school year. Learn more about the benefits of using custom labels for clothes in our detailed guide.
Using a Sewing Machine for Quick Labeling
For parents staring down a mountain of new school uniforms, the sewing machine is your secret weapon. It transforms labelling from a slow chore into a super-speedy production line. You can blitz through a whole batch of sew on clothing labels in a fraction of the time it takes by hand, leaving you more time for a cup of tea (or something stronger!).
This method gives you a professional, durable finish without spending all evening on it. With a few simple setup steps, you can tackle the entire school wardrobe in one go, making sure every item is ready for action.
Setting Up for Success
Getting your machine ready is the first step. The key is picking the right stitch to make sure the label is secure but can also flex with the fabric during a game of tag.
-
For Woven Fabrics: On things like blazers, school shirts, and trousers made from cotton or poly-cotton, a small, straight stitch is perfect. A stitch length of around 2.0 to 2.5 mm gives you a tight, secure seam that looks incredibly neat.
-
For Stretchy Fabrics: When you're labelling PE kits or anything with a bit of give, a narrow zigzag stitch is your best friend. This stitch allows the fabric to stretch without popping the threads, making it much more durable for activewear. Try setting your zigzag width to 1.5 mm and the length to 2.0 mm.
This small adjustment makes a huge difference in how well your labels hold up, especially after dozens of washes.
Nailing the Technique
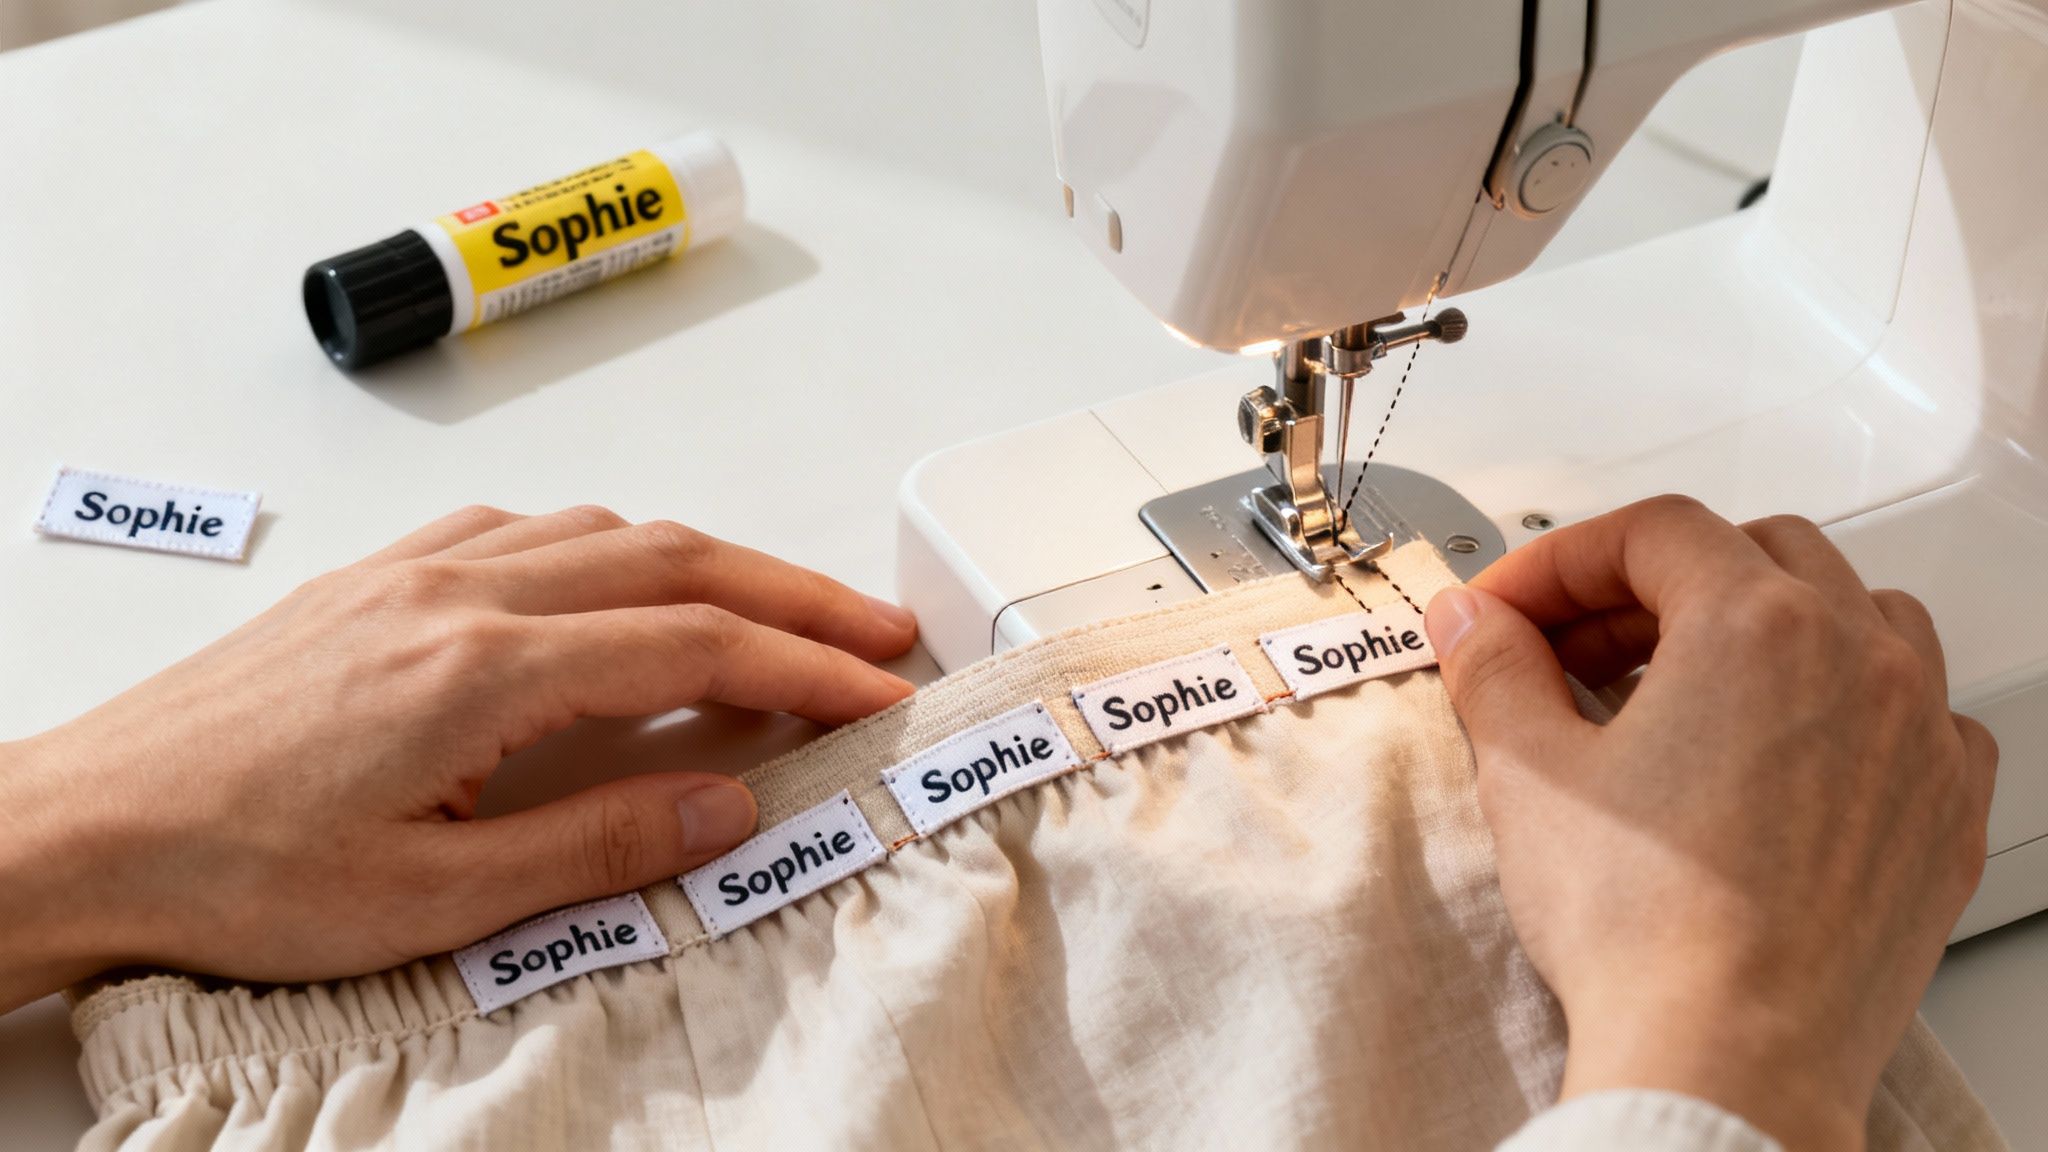
One of the biggest frustrations when using a machine is stopping the tiny label from slipping and sliding under the presser foot, resulting in a wonky job. Luckily, there's a simple fix that parents swear by.
Pro Tip for Parents: Use a dab of fabric glue stick or a light mist of temporary fabric adhesive spray on the back of the label. Press it firmly into place on the garment. This holds it securely while you sew, acting like an extra pair of hands and guaranteeing a perfectly straight finish every time. It’s a genius hack!
Once your label is temporarily stuck down, you're ready to sew. Start on one of the long sides, just a millimetre or two from the edge.
To lock your stitches, sew forward for a couple of stitches, then hit the reverse button to sew back over them. Do this at the very beginning and end. This crucial step stops the stitches from unravelling during the chaos of the school day.
When you get to a corner, stop with the needle down in the fabric. Lift the presser foot, pivot the garment 90 degrees, lower the foot again, and carry on sewing. This is how you get those sharp, clean corners that look so professional.
After you've sewn all four sides and backstitched at the end, snip your threads close to the fabric. And that's it! Your label is permanently and neatly attached, ready for whatever the school year throws at it. For more helpful tips, you can also check out our detailed sewing instruction guides for all types of labels.
Smart Label Placement and Fabric Tips
Knowing where to put a sew on clothing label is just as important as how you stitch it. Good placement means the label is easy for a busy teacher to find, won’t irritate your child's skin, and stays put wash after wash. It’s a small detail that makes a huge difference in the school day chaos.
Imagine a teacher faced with a mountain of identical jumpers. They need to spot that name label fast! If it’s hidden deep inside a pocket, their job becomes much harder. The sweet spot is somewhere discreet enough for comfort but obvious enough for a quick return.
Where to Sew Labels on Common School Uniforms
Every garment is a little different, so let's break down the best spots for the usual uniform suspects. Getting this right the first time saves you the faff of unpicking a label that’s causing a fuss.
-
Jumpers, Blazers & Polo Shirts: The most popular spot is inside the collar, just below the manufacturer's tag. Another great option, especially for kids with sensitive skin, is to sew it onto the garment’s side seam care tag.
-
Trousers, Skirts & Shorts: The inside of the waistband is perfect. It’s completely hidden when worn but dead easy to find.
-
PE Kits & Sportswear: These items are usually made of stretchy fabrics. To stop the label from rubbing during sports, stitch it onto a flat seam, like the inner side seam.
-
Socks & Tights: The tricky ones! For socks, your best bet is to sew the label flat along the sole of the foot or vertically along the inside top cuff. For tights, stick to the inside of the waistband.
Fabric-Specific Sewing Advice
Different fabrics need slightly different techniques. A little bit of fabric know-how goes a long way in preventing puckered fabric or accidental damage.
Parent Tip: Never sew a label through the main fabric of waterproof jackets or puddle suits. It’ll create tiny holes and compromise the waterproofing! Instead, find an internal seam or stitch it to the pocket lining to keep that protective barrier intact.
When you're working with delicate knitwear, like a woolly cardigan, be gentle. Use a fine needle and try to catch only the top layer of yarn without pulling your stitches too tight. This stops the fabric from gathering and creating an ugly pucker around the label.
Stretchy sportswear is another common challenge. As mentioned, a narrow zigzag stitch on your machine is your best friend here. If sewing by hand, a simple running stitch with a bit of slack in the thread will allow the fabric to stretch without snapping your stitches.
Your Quick Guide to Label Placement and Stitching
To help you remember the best approach, here's a handy cheat sheet.
| Garment Type | Recommended Placement | Best Sewing Method | Pro Tip |
|---|---|---|---|
| Blazer/Jumper | Inside neck or on care tag | Hand whipstitch or machine straight stitch | Use a thimble—blazer fabric can be tough! |
| Polo Shirt | Inside neck or on side seam | Machine straight stitch | A clear presser foot helps you sew perfectly straight. |
| PE T-Shirt | Inside side seam | Machine zigzag stitch or loose running stitch | Allows the fabric to stretch during sports. |
| Trousers/Skirt | Inside waistband | Machine straight stitch | Quick and very durable for frequent washes. |
This table should get you started on the most common items in the school bag.
While sew-on labels offer the most bomb-proof solution, there are times when other options are more convenient. To help you decide, you can learn more about our durable iron-on labels for certain types of clothing.
Your Sew On Label Questions, Answered
Even when you're ready to get started, it’s normal to have a few questions. When it comes to our kids, we all want to get things just right! Here, we tackle the common queries we hear from parents about sew on clothing labels, so you can feel totally confident in your labelling mission.
Let’s get those worries sorted.
Can I Remove Sew On Labels Later On?
Absolutely! This is one of their best features. When it’s time to pass a uniform down to a younger sibling or donate it, taking them off is a doddle.
Just carefully slide a seam ripper or the tip of small, sharp scissors under the stitches. Gently snip the threads, being careful not to catch the garment’s fabric. The label will come away easily. Pick out any leftover bits of thread, and the item is ready for its next adventure.
Will the Thread Irritate My Child's Skin?
This is a really common worry, particularly for kids with sensitive skin. The good news is that avoiding irritation is all about clever placement and the right materials.
Go for a soft polyester or a cotton-blend thread, as these are less likely to feel scratchy. As you sew, try to keep your stitches neat and flat.
Parent Hack: If your child is particularly sensitive, the best tip is to avoid sewing the label onto the back of the neck. Instead, stitch it onto the garment’s existing care tag or along an inside seam. That way, it won’t have constant contact with their skin and cause any itchy distractions in class.
When Should I Pick Sew On Labels Instead of Iron On?
Think of sew-on labels as your go-to for anything that needs a truly permanent, heavy-duty solution. They are the undisputed champion for clothes that get a lot of wear and tear or go through frequent, hot washes.
-
Choose Sew-On For: School blazers, thick woolly jumpers, PE kits, and anything made from knitwear or tricky synthetic fabrics. You just can't beat their durability.
-
Choose Iron-On For: A quick fix on standard cotton items like school shirts or summer dresses. They’re a fantastic time-saver but can sometimes start to peel after many washes, especially on stretchy fabrics.
How Do I Look After Clothes with Sew On Labels?
This is the best part – a properly attached sew-on label needs no special treatment at all! You can wash and dry the garment exactly as the care instructions suggest without a second thought.
By using a quality polyester thread, you ensure the stitches are just as tough as the garment's own seams. This means your labels will happily survive countless cycles in the washing machine and tumble dryer, staying put for the entire school year and beyond. Job done


Parent News

Back to School 2026 Made Fu...
Getting ready for the new school year doesn’t have to be stressful. With our Colour Starter Pack Designer Themes and Personalised Kids Sticker Sheets, school prep becomes something fun, colourful, and exciting for the whole family.

Early Bird Sale 2025 - Don'...
The Early Bird Sale is now on from 30 June till 7 July 2025
Kids Activities

Spring Fun Activity: Free A...
Keep little hands busy this spring! Download our free Spring Activity Book is packed with colouring pages, puzzles, games and creative activities – perfect for screen-free fun and sparking little imaginations.

Pancake Day Fun Recipe for ...
We love Pancake Day! Today means one thing… FLOUR FLYING, TOPPINGS STACKING, AND LOTS OF GIGGLES IN THE KITCHEN! Pancake Day is the perfect excuse to get little hands involved, messy faces encouraged, and creativity flowing. Whether you're flipping like a pro or dropping pancakes on the floor (it happens), today is all about fun, food, and family time.