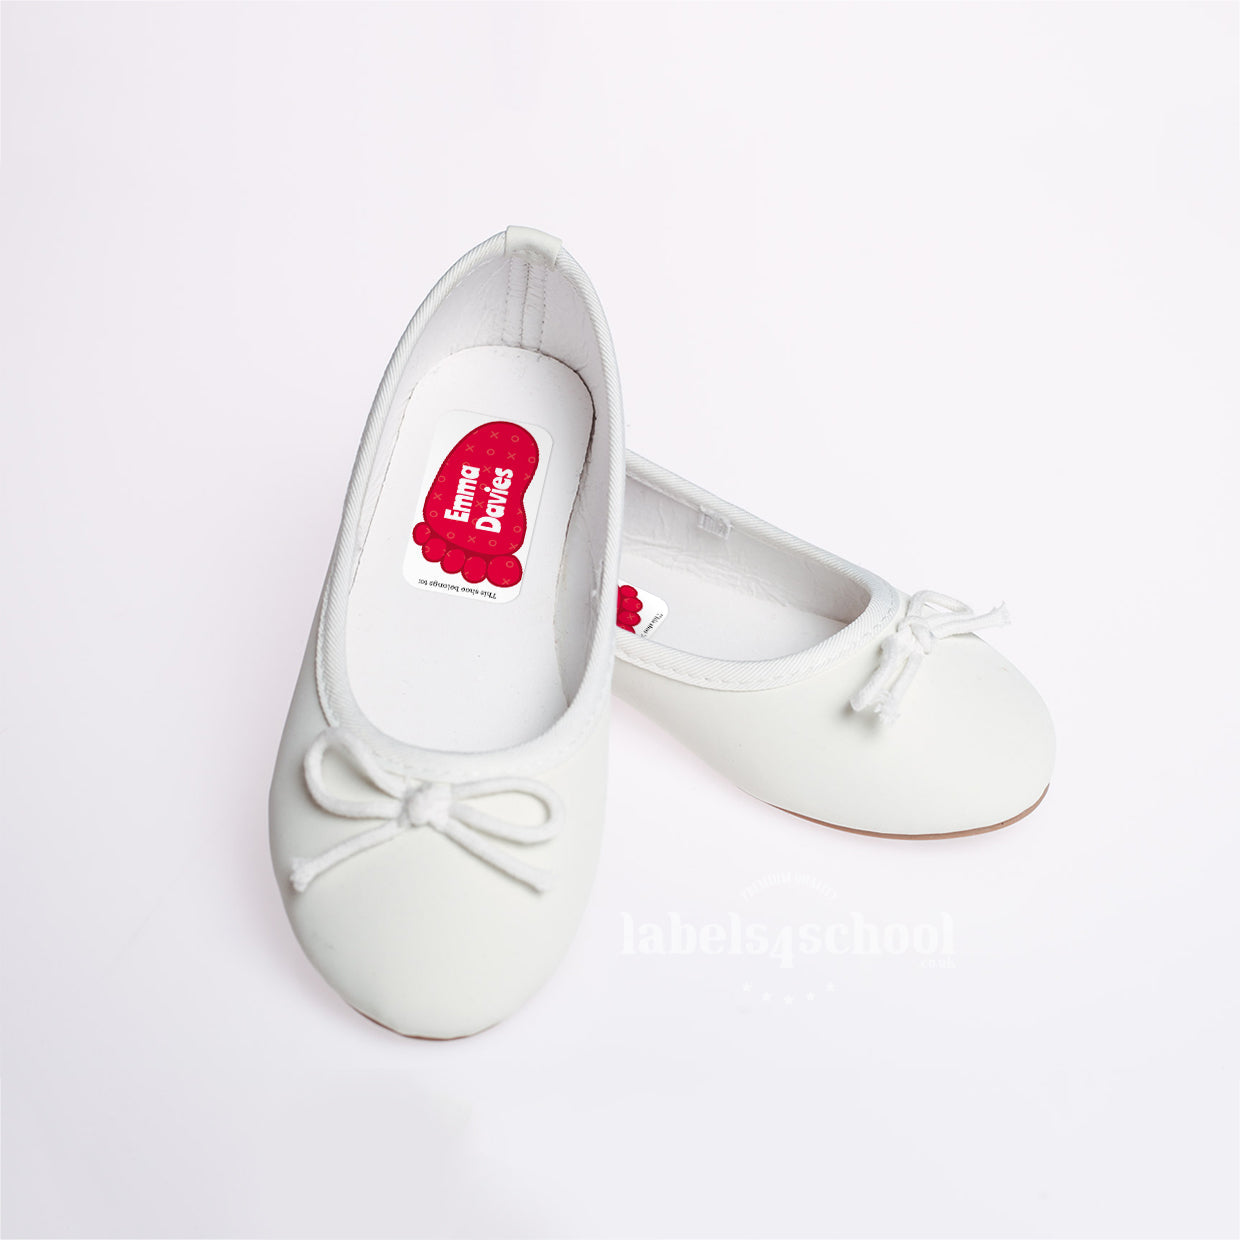


Keep every pair coming home with our durable, waterproof shoe name labels.
Each label comes with a clear protective cover that prevents fading and wear from friction and moisture — so names stay clear and readable long after your child has outgrown their shoes.
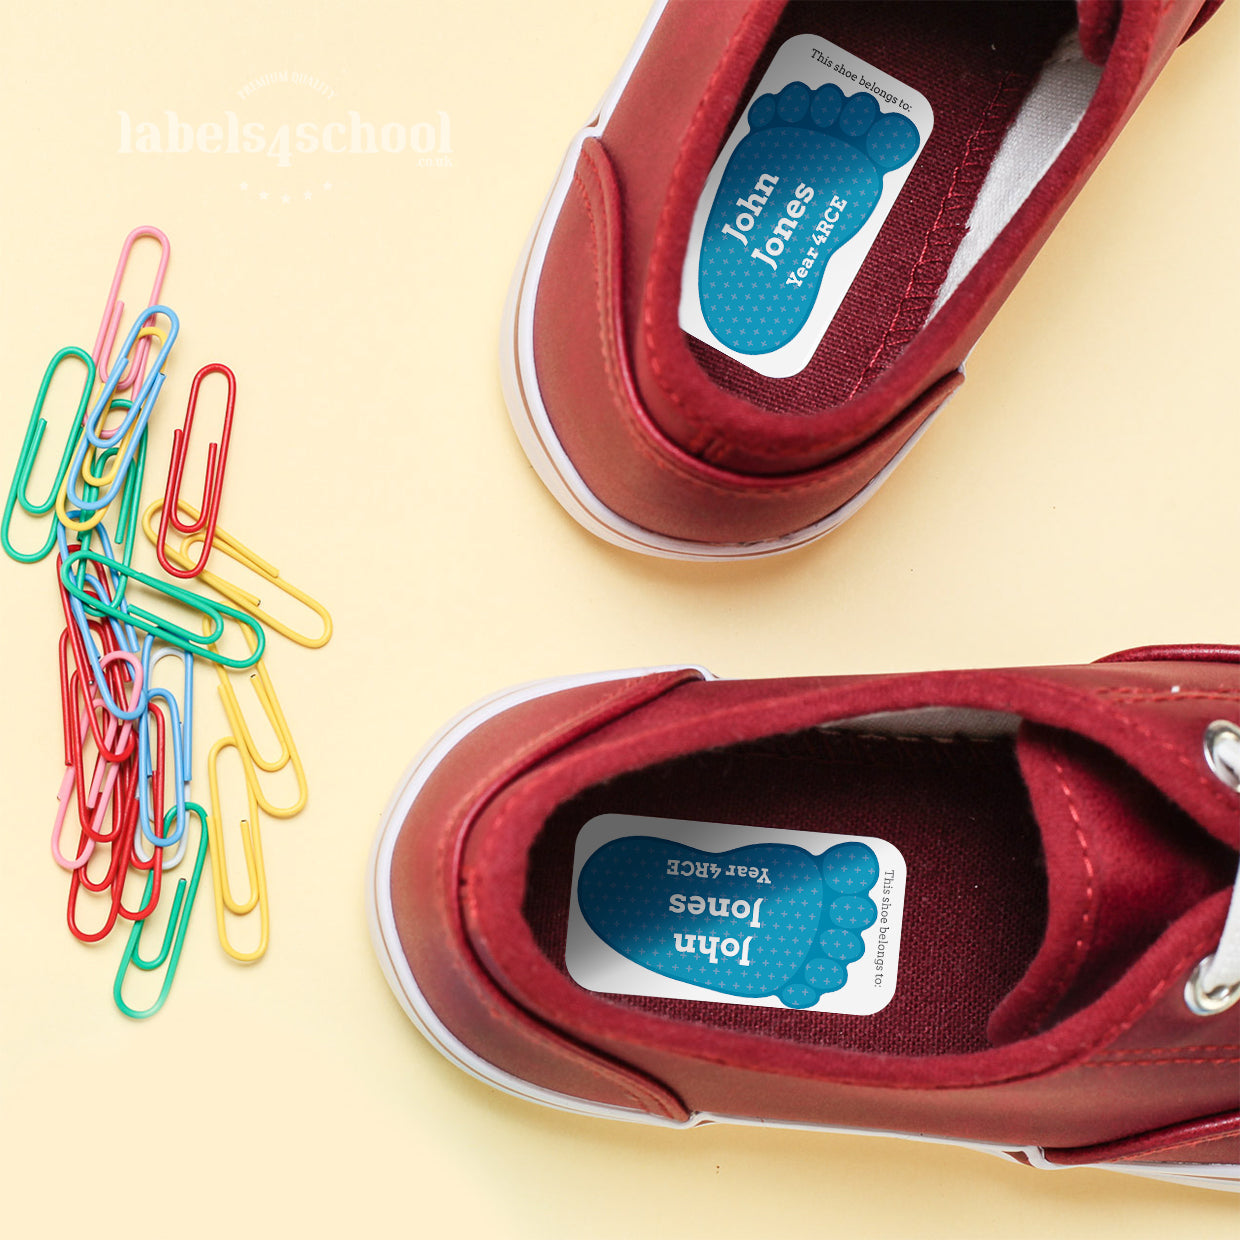
How to apply:
-
Clean and dry the inside of the shoe.
-
Stick the name label on the sole.
-
Place the clear cover on top and press firmly.
-
Walk around in the shoes for 2 minutes to help the label bond.
✅ Super-sticky and long-lasting
✅ Clear waterproof cover included
✅ Thin design – you won’t feel them
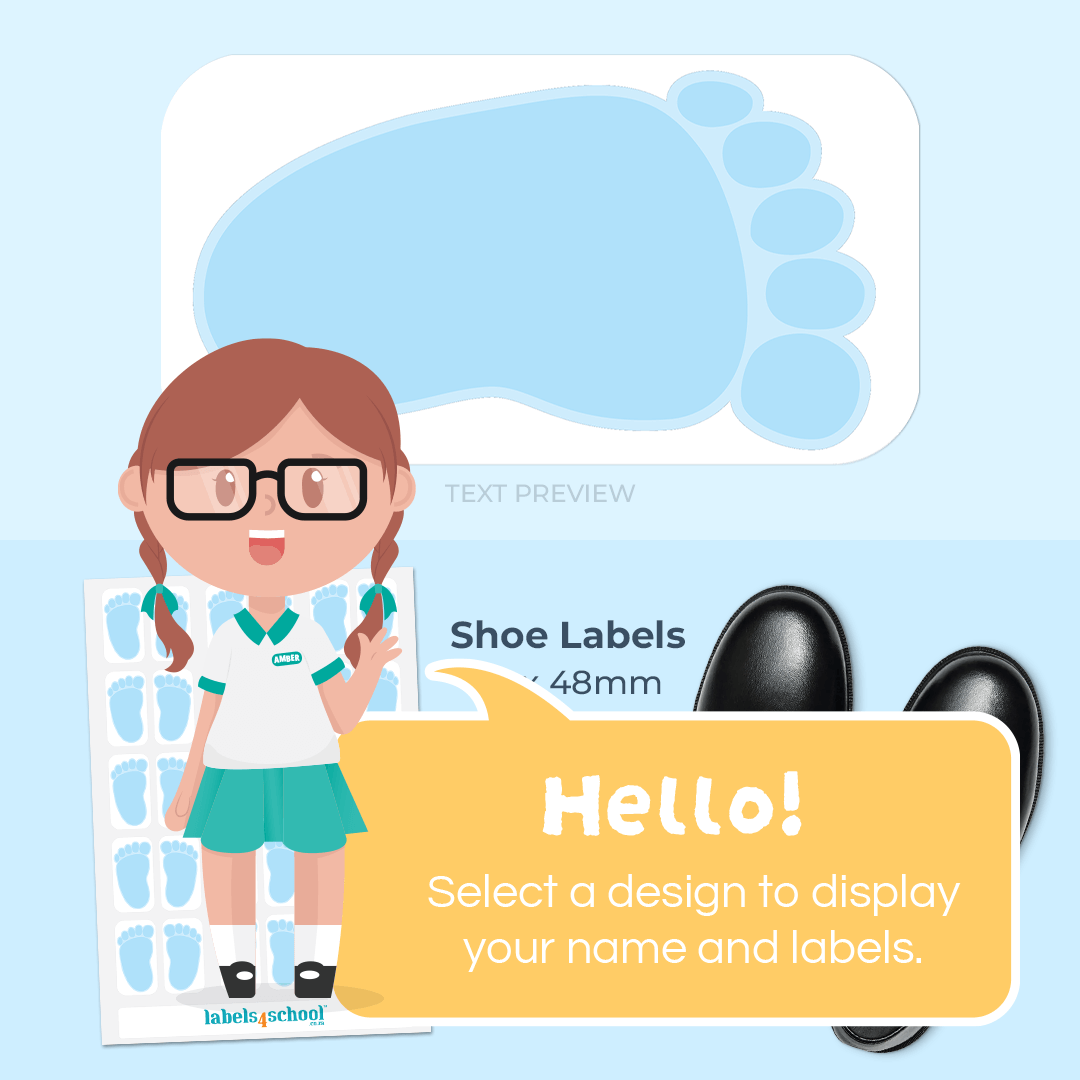
✅ Size: 48mm × 25mm (cover 54mm × 31mm)
Explore More
Shop all Shoe Name Labels
See our full range of waterproof, durable shoe name labels — made to last through every school day and adventure.
Colour Shoe Labels – Customise Your Own
Design it your way — pick your favourite colours, fonts, and artwork to create shoe labels as unique as your child.
Classic Shoe Labels
Simple and timeless. Black and white labels that stay clear, neat, and durable — a clean look that goes with every pair of shoes.
WARNING: Labels may pose a choking hazard. Ensure they are securely attached before giving items to children.